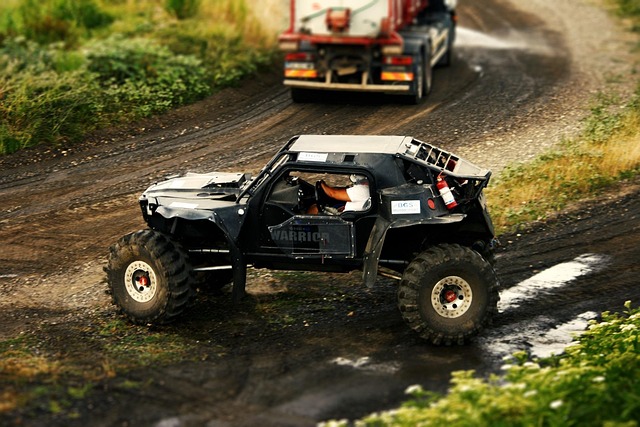
Overland 4×4 enthusiasts looking to boost their RGV's off-road prowess can turn to suspension lift kits, composed of carefully selected overland 4×4-parts. By increasing ground clearance and stability, these kits allow drivers to customize height and spring tension for various landscapes. Installation involves removing existing suspension components, installing the new kit per manufacturer instructions, and performing final checks for optimal performance, transforming the RGV into a capable off-road machine using quality overland 4×4-parts designed specifically for it.
“Elevate your off-road adventure with suspension lift kits, a game-changer for any overland 4×4 enthusiast. This comprehensive guide explores RGV parts and installation techniques, offering insights tailored for those seeking to enhance their vehicle’s capabilities. From understanding kit components to the step-by-step installation process, we empower RGV owners to navigate rugged terrains with confidence. Discover how these lifts transform your 4×4 into a powerful on- and off-road machine.”
- Understanding Suspension Lift Kits: An Overland 4×4 Perspective
- Installation Process: A Step-by-Step Guide for RGV Parts Enthusiasts
Understanding Suspension Lift Kits: An Overland 4×4 Perspective
Suspension lift kits are a popular modification among those who love to explore off-road in their overland 4×4 vehicles. These kits allow owners to enhance their vehicle’s suspension system, increasing ground clearance and improving performance on uneven terrain. By installing a suspension lift, drivers can access more challenging trails and navigate through rough landscapes with greater ease.
The RGV (overland 4×4) community often favours these lifts for their ability to provide a seamless blend of functionality and style. The right kit can strengthen the overall stability of the vehicle, ensuring a smoother ride during intense off-road adventures. With carefully chosen overland 4×4-parts, installation allows for fine-tuning the lift’s height and spring tension, catering to different driving styles and terrain preferences.
Installation Process: A Step-by-Step Guide for RGV Parts Enthusiasts
The installation process for a suspension lift kit can be broken down into manageable steps, providing RGV parts enthusiasts with a straightforward guide to enhance their off-road capabilities. First, gather all necessary tools and ensure your vehicle is securely parked on a level surface. Next, start by removing the existing suspension components, carefully unbolting each part according to your vehicle’s specific design. This involves detaching the shock absorbers, springs, and control arms, which can be achieved with the right set of sockets and wrenches.
Once the old parts are removed, it’s time to install the new lift kit. Begin by mounting the upgraded suspension components, following the manufacturer’s instructions for proper alignment. This includes attaching the extended springs, shock absorbers, and control arms. After ensuring all parts are securely fastened, double-check the vehicle’s height and wheel alignment using a level and measurement tools. With the right overland 4×4-parts-RGV, your RGV will be transformed, ready to conquer rugged terrain with increased ground clearance and improved off-road performance.
Suspension lift kits offer a significant advantage for those who love to explore rugged terrains with their RGV vehicles. By enhancing ground clearance and providing better control over obstacles, these kits are a must-have for any serious off-roader. The installation process, as outlined in this guide, equips RGV enthusiasts with the knowledge to tackle this project themselves, ensuring a tailored fit and improved performance on the overland 4×4 trails they love to conquer. Equip your RGV with the right parts, and you’ll be ready to navigate any landscape.